git commit时的verified认证配置说明
🧐基于win环境,使用 Github Desktop 软件的配置🧐
事先准备
[Gpg4win]: https://gpg4win.org/get-gpg4win.html “gpg4win”
选择$0即可免费下载,安装完毕后可以得到一个这样的软件。 
创建密钥对
选择 “新建密钥对”,然后根据提示创建密钥(如果没有特殊需求的话,建议有效期选择长一些或者直接设置为永久,一劳永逸)
将公钥放到自己的github账号上
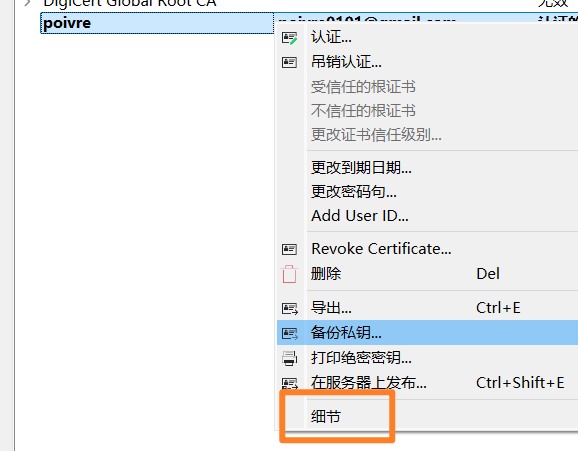
右击选择新建的密钥对,选择 “细节”
然后在“证书明细”界面选择“导出…”
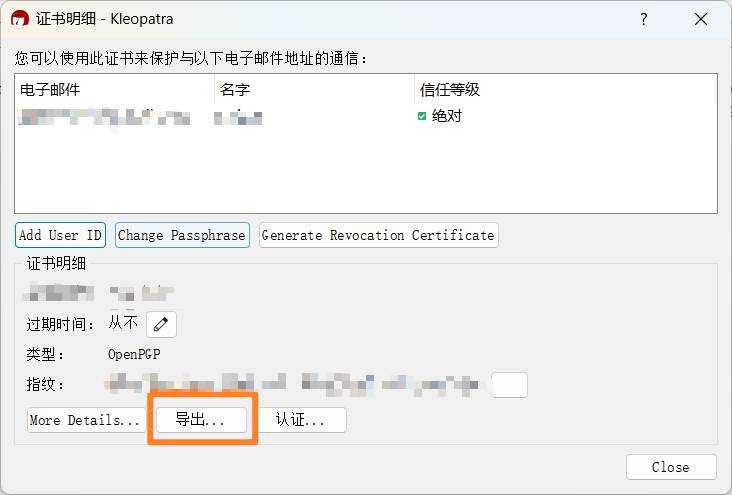
打开您的github主页,选择 “setting” -> “SSH and GPG keys”,将复制到的公钥部分放入 ”GPG keys“ 中
启用 Git 提交签名
终端定位至 Github Desktop 安装文件中的 git 文件夹
路径为
app -> resources -> app -> git将 Github Desktop 调用的路径改为 GPG 客户端路径(可以在
gitbash中通过 “where gpg” 查询得到)1
git config --global gpg.program "gpg客户端路径"配置 Github Desktop 默认签名的 GPG Key ID(也就是配置的“密钥 ID”)
1
git config --global user.signingkey "Key ID"配置邮箱
1
git config --global user.email "您的邮箱"开启 commit 的 GPG 签名功能
1
git config --global commit.gpgsign true
git commit时的verified认证配置说明
http://example.com/2024/09/30/基于GithubDesktop进行commit时的verified认证配置/